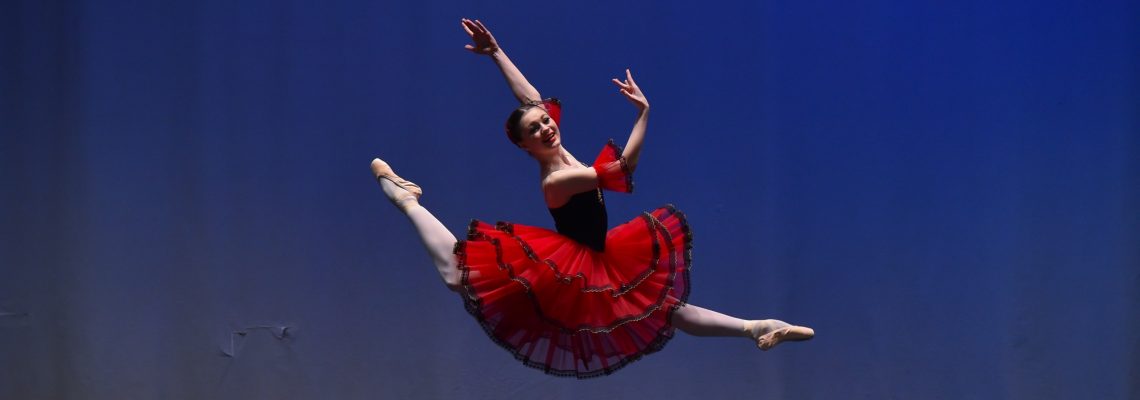
The ballet bun is so iconic and so important! It’s a perfect invention for practice and stage. But it can also be an afterthought and damaging to your hair. This blog post is all about inspiring you to find your best bun!
But first, let’s review. The basic bun is made by making a ponytail. Then, separating the hair into two or three equal parts. And then, twisting and pinning each section as you go around the ponytail, integrating each new section into the section you are ending.
Click here to read my post on making The Perfect French Twist!
We all have tricks for minimizing rogue pieces of hair and maintaining the security of it while you fly across center. But there is even more to it. The bun position and the products you use (or don’t use) all play a part in your day-to-day dance routine. You always want to look gorgeous and you want to be able to really focus on your dancing – not on that one bobby pin that is keeping you from concentrating! You also want to keep your hair healthy and strong.
Here is what we will cover:
- Different bun positions
- Your bun is an extension of your line
- Class bun versus Performance bun
- Fashion Trends
- Bun essentials


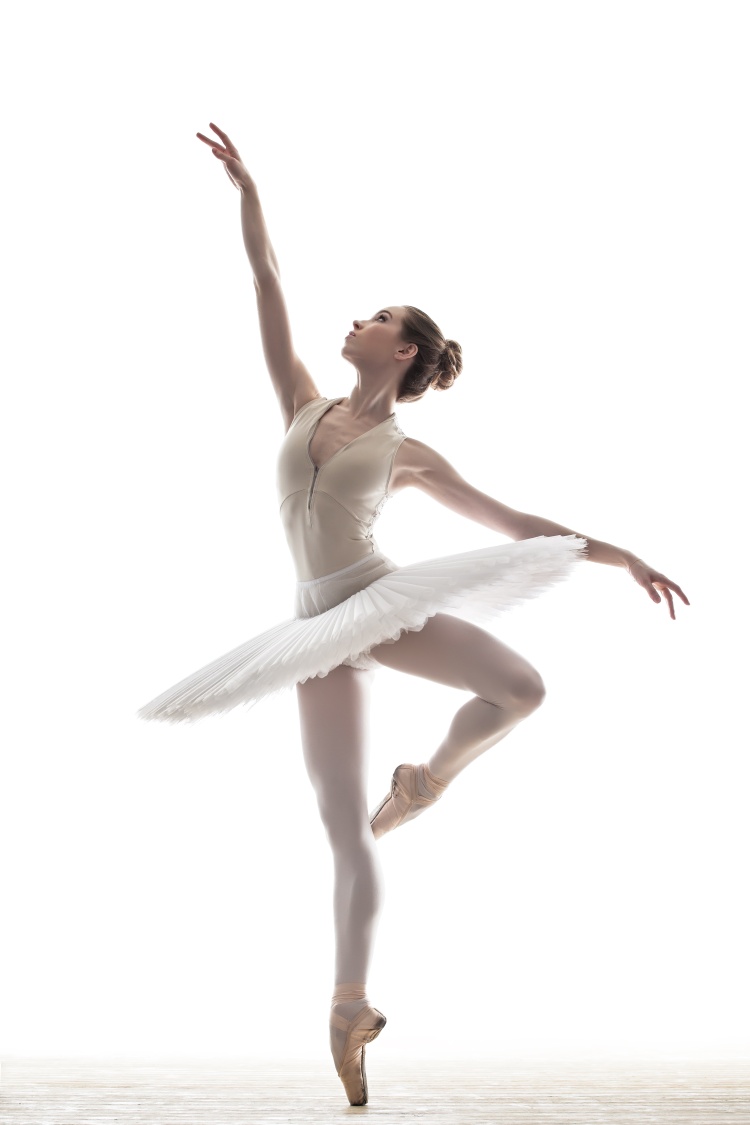
High Bun
The high bun is the most common type that dancers make. They start by making a high ponytail and the looseness/tightness depends on what they like. For class, I usually leave it a little looser because I want to avoid stress on my hairline. Others prefer it tight. The high bun creates an extension for your lines, as we’ll talk about later.
Medium Bun
The medium bun is hardly ever used. This doesn’t do anything too flattering for your lines or even compliments your face. This isn’t too common, except for costume purposes.
Low Bun
The low bun is also common. Tall dancers like this method of making a bun because it creates an illusion of being a little shorter. Still, it doesn’t create an extended line and it doesn’t work for everyone. Those who it does work for, it can give you really nice headshots and look great for class!
The Bun is an Extension of Your Line
For auditions, class and performance, your bun can be used to extend your line. The high bun does exactly that for you. This “perfecting” of your lines takes practice and you probably won’t get it the first time. Take time outside of your class routine to understand your ideal bun line. You could make it fun and practice with a friend by taking photos of each other and experimenting with the bun placement and its effect on your line!
My perfect bun is when I brush my head with my hand in a straight line on the top and when it meets the back of my head—that is where my ponytail is. From there, I make a bun. This bun gives a great line in arabesque and other long extensions. You should be able to see a little of the top of the bun if you are looking at your head straight on.
Class Bun vs. Performance Bun
My class bun is very different than my performance bun. For a class bun, you shouldn’t put a ton of product or pull too much. It can be stressful on your hair. The good news is, the class bun can be wherever or however you want it! Your class bun should keep your hair out of your face, but it can be more relaxed than your standard performance bun. Just make sure it’s neat enough, so it looks like you put effort into it, AND it doesn’t fall out during turns! There are a lot of great street style buns out there – with braiding and headbands, or side parts and strong center parts. Don’t be afraid to mix it up!
Your performance bun should use a lot of product and look as clean as possible. Also, there are usually guidelines for where your bun should be: high, low or medium. These should be perfect. A perfect bun onstage looks really professional and it doesn’t distract anyone from your dancing.
Bun Essentials
- Hair Ties—lots of them. Covered is good for your hair but make sure they are strong.
- Hair Gel—using too much on the ponytail makes you look like you have no hairline, so use in small amounts there; but in the bun, use the hair gel to separate the parts before you twist them around.
- Small Tooth Comb—brush out all the imperfections (if there are any) into your bun and clip them down. Even in class this makes you look more professional.
- Hair Pins—make sure these pins aren’t just straight metal because those can damage your hair. Make sure they have a plastic or rubber covering. I like bunheads hair pins. They are contoured and are much more comfortable on the scalp.
- Hair Clips—these are the standard snap clips. You can clip down any loose hair and use these to touch up any rough spots.
- Hair Nets—these are pretty easy to find and they hold all your hair in your bun. Try to match them to your hair shade. They come in small and large sizes.
- Hair Spray—for class use in a small amount, but for performances, use lots; it helps the bun look sleeker and more put together. Consider a shiny spray for the head and a matte spray for the bun crown.
- Signature Hair Accessory—like a gorgeous crystal pin or a beautiful bunflowerz bun wreath!
- The last essential is your Hairstylist! Keep an open dialogue with them on hair health and use their advice to keep your hair looking its best!
Ready to try it? Here is my Balletomane video tutorial demonstrating how to make a classic bun that would work great for class.
Thanks for reading! If you enjoyed the article, please follow me on Instagram @The_Balletomane and subscribe to my blog by using the link on this page!
Photocredits are available by clicking on the photos. Top row L to R: Bazaaruk, Jason Wu Imax Tree, Elle website. Bottom row L to R: Elle magazine, Dior, bunflowerz

One thought on “The Perfect Ballet Bun”